EduHUB Agents User Manual
Log in
- Navigate to https://timeseduhub.com.au
- Click on the “Log in” button in the top right-hand corner of the page

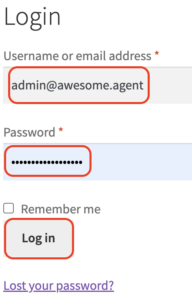
You’ll be taken to the “My Account” page where you can enter your username and password in the “Login” form”.
- Enter your username (email address) and password and check the “remember me” box if you want your browser to save these for next time.
- Click on the “Log in” button
New Enrolment
Find the Course
- On the “My Account” page, click on the EduHUB logo

You’ll arrive at the “Course” page. Search through more than 124 courses we offer or use the filter to refine your options
- Use the filter
- Select the course
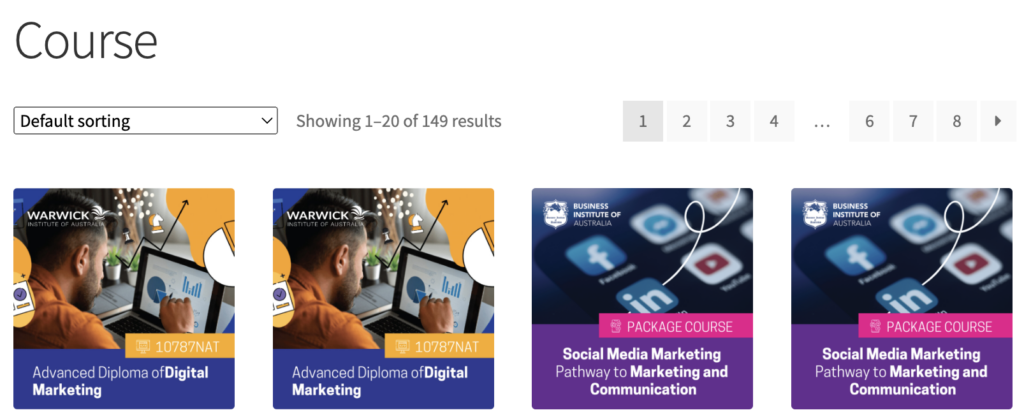
You can reduce the selection of courses displayed by selecting multiple filter options.
- Filter according to Institution, Campus, Qualification and / or Course Type using the drop-down boxes.
- Click on the “Filter” button.
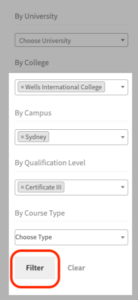
Pro Tip: Times Education offers different courses across it’s multiple Higher Education (HE) partners, Vocational Education and Training (VET) and English Language (ELICOS) institutions. And some of these institutions offer different courses in different cities including Sydney, Brisbane, and Perth. For this reason, it is a good idea to use the “Filter” function to ensure you are choosing the course that is right for your student.
- Locate the desired course
- Click on the “Course Details” button.
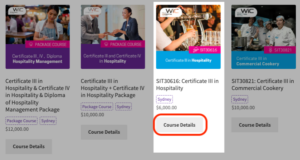
You will arrive at the “Product” page for the course you selected. On this page,
- See the Pathways, Course Structure, and Specifications.
- Select the course intake date
Pro Tip: Check the course details to be sure this is the right course for your student, including…
- The price and any material fee: (Note that this is the full price total before any promotion is applied)
- Pathways and course structure
- Specification: Be sure to check out…
- the course Duration including the number of Weeks of Study and Weeks of Break
- the College and Campus
- Entry Requirements

- Select the correct Intake Date
- Click on the “Add Course” button.
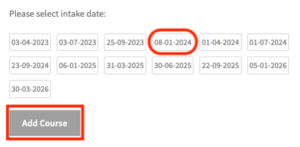
- Scroll Up to the top of the page.
- Click on “View Selected” in the green notification bar.
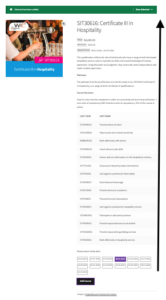
You will arrive at the “Selected Course” page.
- Check the details are correct
- Enter any coupon code
- Click on “Sign up for Selected“
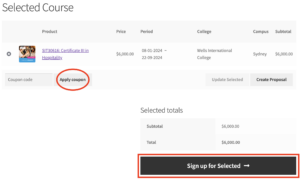
You will arrive at the “Sign up for Selected” page.
On the page you will:
- Check that the agent details are correct
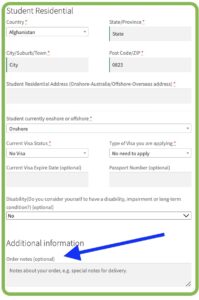
- Enter the student’s details.
- Enter the student’s information including identification and contact details.
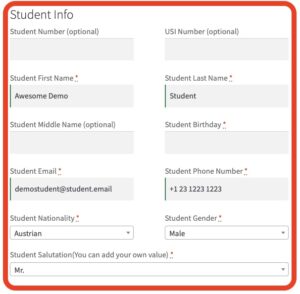
- Enter the student’s residential info including address and visa details.
- Add some notes under “Additional Information” to let our team know that you are paying attention! (Eg. “There’s no rush because this student’s Visa doesn’t expire for another 11 months.”
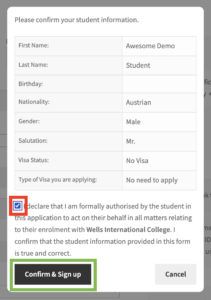
A small “Declaration Page” will pop up. On the page you will declare:
- You are authorised by the student to apply.
- The information you have entered is accurate.
- Click a tick in the declaration checkbox
- Click on the “Confirm and Sign up” button
- Click on the “Upload Documents” button.
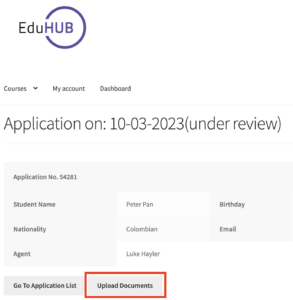
You will arrive at the “Edit Application” page. On this page you can Enter a Voucher Code, Consolidate Payments, Add Comments and Upload Documents
- Scroll down to the “Documents“ section.
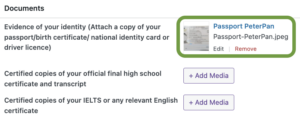
- Inset the correct document in the appropriate folder
- Find the correct field for the document you are submitting (eg. ID /Birth Certificate / Passport or High School Certificate and Transcript)
- Click on the “+ Add Media” button.
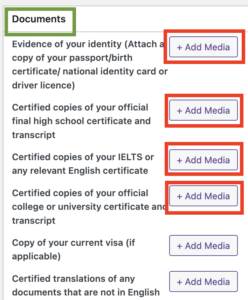
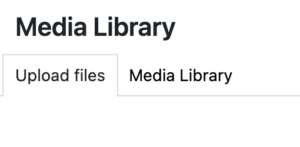
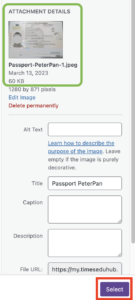
After selecting your file in your own system:
- Check to be sure the correct document is uploaded
- Click on the “Select” button
Note that the document has been placed in the correct document field.
- Repeat the process for remaining documents
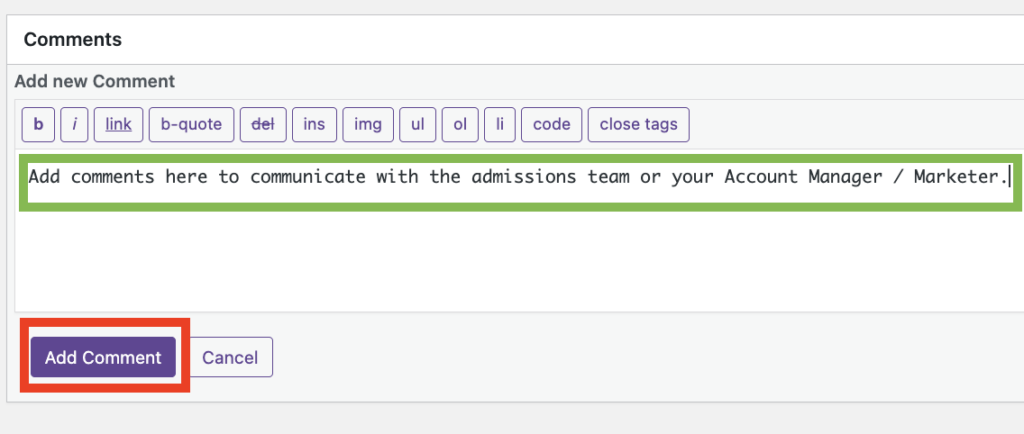
At the bottom of the page, find the comments section. Add comments to communicate with the admissions and marketing team.
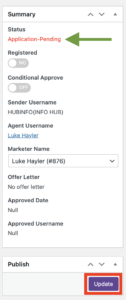
At the top-right of the screen, check the “Summary” section.
- Note that the Application is still in the “Pending” status.
- Click on the “Update” button to complete the Application submission.
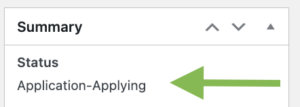
Note that the Application is now in the “Applying” status.
Letter of Offer
Lorem ipsum dolor sit amet, consectetur adipiscing elit. Ut elit tellus, luctus nec ullamcorper mattis, pulvinar dapibus leo.
Certificate of Enrolment
Lorem ipsum dolor sit amet, consectetur adipiscing elit. Ut elit tellus, luctus nec ullamcorper mattis, pulvinar dapibus leo.
